Brick a House Controls and HUD Tips
Place bricks cleanly, open the right menus, and keep your camera ready on every device.
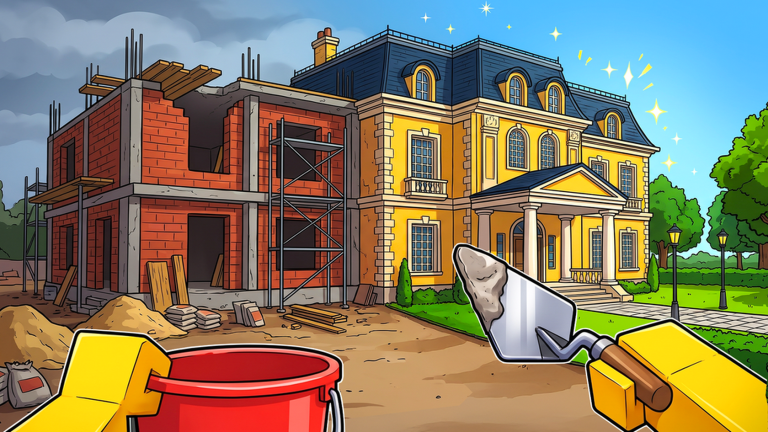
Brick a House plays best when your hands disappear and the pile-to-glow loop feels automatic. Because Roblox experiences can remap prompts by platform and patch, this guide focuses on actions and HUD habits instead of inventing fixed keybind tables that might be wrong tomorrow. Use on-screen labels as the authority, then apply the device tips below to keep placements crisp.
Pair these habits with getting started for the first-hour loop and how to build fast once you want speed.
Universal actions to master
Regardless of keyboard, touch, or controller, you will repeat the same verbs:
- Move to the brick pile and to glowing markers.
- Pick up / grab bricks until your bag limit shows full or nearly full.
- Place / click interact on glowing spots to spend carried bricks and earn cash.
- Open upgrades / shop from the HUD when you are ready to spend.
- Open pets / gems / settings from clearly labeled HUD buttons or tabs.
- Camera adjust so the next glow stays visible without constant spinning.
If a prompt appears above a brick or marker, follow that prompt. If nothing prompts, step closer — range gates most interactions.
Reading the HUD before you bind muscle memory
Spend your first minute identifying:
- Cash readout
- Carry capacity or bag indicator
- Current objective or stage text
- Buttons for upgrades, shop, pets, and settings
- Any bot or vehicle toggles
Do not memorize community spreadsheet keys until you confirm them in your build. Settings menus sometimes list movement and camera options; open settings once from the HUD and note what your client shows. When patches shuffle UI, re-scout instead of fighting old habits. Patch notes pointers live on updates.
PC tips
On PC, precision and camera height are your advantages.
- Keep the camera slightly elevated so multiple glowing spots stay in view while you strafe.
- Click to place when in range; avoid spam-clicking from too far away — walk the last step.
- Use short strafe adjustments between nearby markers instead of full turn-arounds.
- Open upgrade and shop panels only between glow clusters, not after every single brick.
- If you use a mouse with adjustable DPI, a medium sensitivity helps track markers without overshooting on roofs.
When furniture handoffs demand awkward angles, pause movement, align the camera, then place. Panicked orbits waste more time than a one-second align. Chapter-specific awkward spots appear in Chapter 1 and Chapter 2.
Mobile tips
Touch controls trade precision for convenience. Reduce mis-taps:
- Thumb movement on one side, camera drag on the other — pick a consistent grip.
- Stop walking for a beat before tapping place; moving taps miss more often.
- Zoom out slightly on large Chapter 2 lots so you can see distant glows.
- Use HUD buttons with deliberate taps; rush menus cause accidental shop opens mid-haul.
- Consider a clip-on trigger or higher framerate settings if your device struggles during busy co-op sessions.
Bag upgrades matter even more on mobile because fewer trips means fewer touch sequences. Prioritize capacity via upgrades.
Controller tips
Controller players should favor sticky camera habits:
- Hold a gentle camera nudge toward the next marker while walking.
- Use the interact button shown on-screen — do not guess face-button layouts from other games.
- Remap only inside Roblox or in-experience settings if available; keep a screenshot of your layout.
- Soft-aim toward glow centers before interacting to reduce failed place attempts.
- In co-op, bind or remember a quick emote/chat habit for “bag full” if voice is unavailable.
Vehicles, when owned, often feel best on controller for long Chapter 2 traversals — buy them only after bag fundamentals, per the upgrade tier list.
Placement discipline
Good placement is half controls, half intention:
- Confirm the marker is glowing and matches the current objective.
- Enter range with bricks ready.
- Place, then strafe to the next nearest glow.
- Resupply only when empty or when the cluster is finished.
Off-objective placing teaches bad camera habits and slows cash. Trust the glow. Rare Gold, Diamond, or Rainbow bricks still follow the same place verb — see rare bricks.
Menus without breaking flow
Open upgrades when:
- A glow cluster is clear.
- You have enough cash for a meaningful tier.
- Teammates know you are briefly in menus during co-op.
Open pets or gem hatching when:
- You are between stages.
- You will equip immediately and return to building.
Details on hatching discipline sit in pets and gems. Avoid AFK menu browsing while Builder bot idles without bricks — feed the loop first (how to build fast).
Co-op communication beats fancy binds
The fastest control upgrade in multiplayer is clarity:
- Call pile, haul, and place roles.
- Announce “menus” before shopping.
- Ping or describe marker sides (“pool deck glows clear”).
- Share rare brick pickups instantly.
Fancy keybinds cannot fix three players standing on one wall.
Accessibility and comfort
- Lower camera shake or motion options if available in settings.
- Take short breaks during long mansion builds to avoid touch or wrist fatigue.
- Increase UI scale if HUD text is hard to read on your device.
- Use headphones for footstep/place audio cues when visuals get busy.
Quick device checklist
- HUD labels identified in the first minute.
- Place only on glowing objective markers.
- Camera preset that shows the next glow.
- Shop opens between clusters, not mid-trip.
- Settings reviewed once per patch week.
- Co-op calls ready before Chapter 2 wings split.
Where to go next
- Learn the economy loop: getting started
- Spend correctly: upgrades
- Race cleaner: how to build fast
- Stage order: Chapter 1, Chapter 2
- More tutorials: Guides Hub
Master the verbs — grab, place, shop between clusters — and every device feels capable. Let the HUD tell you the current binds; let this guide tell you how to use them well.
Frequently Asked Questions
Quick answers for Brick a House builders.
What are the exact keyboard binds?
Follow on-screen prompts and the in-experience settings list for your client. Binds can differ by device and patch, so HUD labels beat memorized third-party charts.
How do I open upgrades or the shop?
Use the labeled HUD buttons or tabs for upgrades, shop, pets, or settings. Open them between glow clusters so you do not stall placements.
Any mobile-specific advice?
Stop briefly before tapping to place, keep a consistent move/camera grip, and upgrade bag capacity early to reduce trip count.
How do I place bricks correctly?
Carry bricks from the pile, walk into range of a glowing marker that matches your objective, then use the on-screen place/interact action.