Brick a House Upgrades Priority Guide
Spend cash on the multipliers that shorten every pile-to-marker trip.
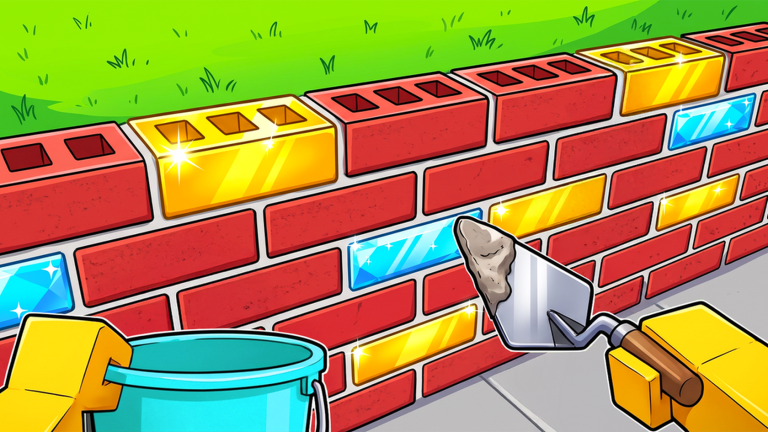
Every Brick a House session funnels cash from placed bricks into a web of upgrades: tools, bag capacity, movement speed, luck, vehicles, helpers, and later gem-adjacent systems. Buying in the wrong order feels busy but stays slow. This guide explains what each sink does, when it pays off, and how to sequence purchases from your first hour through Chapter 2 mansion work.
If you are brand new, skim getting started first. If you already understand the loop and want ranked snapshots, pair this page with the upgrade tier list and the routing habits in how to build fast.
What cash actually buys
Bag / carry capacity increases how many bricks you move per trip. It is the backbone multiplier because every other bonus applies to more bricks when you carry more.
Tools improve the grab and place side of the loop — faster interactions, smoother clears when you are already standing on markers. Tools matter as soon as capacity stops being the obvious bottleneck.
Speed shortens travel between pile and house. Its value scales with map size. Compact Chapter 1 lots need less speed than sprawling Chapter 2 villas.
Luck nudges rare brick odds — Gold, Diamond, Rainbow. Luck is a mid-game income spice, not a replacement for capacity. Read rare bricks before dumping early cash here.
Vehicles reduce travel friction once you can afford them without delaying bag tiers. Treat them as comfort and Chapter 2 QoL.
Builder bot automates placement pressure. It is a labor multiplier, best bought when you can feed it a steady brick supply. Details overlap with the bot section in how to build fast.
Pets hatch with gems rather than plain cash, but upgrade planning should leave gem goals room once chapters stabilize — see pets and gems.
Recommended priority order
Use this default ladder unless a tutorial forces a one-off purchase:
- Bag capacity until trips feel substantial.
- Tool ranks that clearly speed pickup or place.
- Speed enough to stop dreading long walks.
- Builder bot when cash surplus appears after bag goals.
- Luck once Chapter 1 structure stages are comfortable.
- Vehicles and cosmetics after the productive ladder is healthy.
Revisit bag whenever a new tier is affordable — capacity remains relevant in Chapter 2. Do not “finish” bag forever after one buy; larger houses demand larger hauls.
Early game (first hour and Chapter 1)
Open the upgrade or shop panel from the HUD and ignore flashy late options. Your job is to make the glowing-spot loop denser. Buy the cheapest meaningful bag bump, place until you can afford the next, and only then touch tools. A light speed purchase helps if the pile sits awkwardly far from wall lines.
During walls and floors, capacity dominates. During roof and furniture handoff, tools and precise placement matter more because markers may be awkward. Follow stage order with the Chapter 1 walkthrough so you do not spend cash while stuck on the wrong objective.
Hold luck near zero until you can clear structural markers without thinking. Rare bricks are exciting; empty roofs are not.
Mid game (post Chapter 1, entering Chapter 2)
Once the starter house flow is done, reassess. Chapter 2 mansion and pool villa layouts increase travel and marker count. Priority shifts slightly:
- Top off bag again.
- Add speed and consider a vehicle for wing-to-wing travel.
- Keep tools current so placement on complex layouts does not stutter.
- Enable or upgrade Builder bot to cover wide floor plates.
- Start a modest luck budget between stages.
Co-op teams should appoint one spender. Three players buying random luck ranks while bags stay tiny is a classic slowdown. Align spend with the role splits in how to build fast and the larger layouts in Chapter 2.
Cash sink discipline
Healthy sinks share three traits: they shorten cycle time, they scale with bricks placed, and they do not require perfect rare RNG. Bag, tools, speed, and bot tick those boxes. Luck is probabilistic. Cosmetics are optional. If a purchase does not change your next ten trips, wait.
A practical rule: after any upgrade, run at least one full objective segment before opening the shop again. Feel the difference. If you cannot feel it, the upgrade was premature or too small relative to map size — save for the next tier instead of nibbling side upgrades.
Track community rankings on the upgrade tier list; labels shift when Nicow Community tunes costs. Treat tiers as guidance, not law, and re-check after patches listed on updates.
Vehicles, bots, and opportunity cost
Vehicles shine when distance hurts more than interaction time. On a small Chapter 1 pad, a vehicle can be a vanity buy. On a Chapter 2 pool villa, it can save minutes per stage. Builder bot shines when markers are plentiful and obvious. On sparse furniture handoffs, manual placement may still win — use the bot for bulk, yourself for precision.
Never bankrupt yourself for a bot if the next bag tier is one stage away. A fed hauler plus empty bot is worse than a strong bag and no bot.
Luck and rare economy
Luck upgrades raise the chance to see Gold, Diamond, and Rainbow bricks while you work. They do not place walls for you. Schedule luck buys for natural breaks: after roof complete, before furniture, or between chapter unlocks. Combine with awareness from rare bricks so you recognize value without derailing routes.
Gem-adjacent planning
Gems and pets sit beside the cash ladder. Do not divert emergency cash strategies into gem panic during Chapter 1. After income stabilizes, farm gems deliberately, hatch, and equip strong pets per pets and gems and the pets tier list. Pets should amplify an already efficient loop.
Sample spend arcs
Solo Chapter 1: bag → bag → tool → small speed → finish walls/floors → tool → bot if surplus → roof → light luck → furniture.
Duo Chapter 2 prep: shared bag focus → speed → vehicle for one hauler → bot → tools → luck budget between wings.
Challenge / best-house pace: delay luck and cosmetics entirely; stack bag, tools, speed only; watch routing video ideas on this page and keep markers always fed.
Checklist before every shop visit
- Is my bag the limiting factor on the last ten trips?
- Did tools or travel feel worse than capacity?
- Is Chapter 2 distance making speed mandatory?
- Would a bot place more bricks than this cash spent on bag?
- Am I buying luck out of boredom instead of need?
Answer honestly, buy one thing, close the menu, build. For input help while testing upgrades, see controls. For the full tutorial index, open the Guides Hub.
Frequently Asked Questions
Quick answers for Brick a House builders.
What upgrade should I buy first?
Bag or carry capacity. It multiplies every later boost by letting you move more bricks each trip.
When is luck worth buying?
After Chapter 1 structure stages feel easy and bag, tools, and basic speed are in place. Luck helps rare bricks; it does not clear roofs alone.
Should I buy a vehicle in Chapter 1?
Usually later. Compact starter lots reward bag and tools first. Vehicles matter more on Chapter 2 mansion and pool villa distances.
Is the Builder bot better than speed?
They solve different problems. Bot increases placement labor; speed cuts travel. Buy bot when you can keep it supplied; buy speed when walks dominate the clock.
Where can I see a ranked upgrade list?
Use the upgrade tier list on this wiki for a community-style S–C snapshot, and revisit it after balance patches.